DIY Bottle Cap Tripod parts list
Master parts list:
* 1 1/4-inch Stainless steel washer
* 1 1/4-20x1 1/2-inch stainless steel pan head machine screw
* 1 1/4-20 Bar Knob
* 1 1/4-20 stainless steel lock nut
* 1 lid from a 20oz bottle
Tools required:
* Drill with 1/4-inch bit
* Screwdriver
* Wrench
All parts for the project were purchased at Lowes. Total cost is $3.37, not including the Pepsi.
DIY Bottle Cap Tripod step 1


Step 1: Drill a hole in the center of the bottle cap using a 1/4-inch drill bit.
DIY Bottle Cap Tripod step 2
Step 2: Insert the washer in the bottle cap. This helps stabilize and strengthen the bottle cap.
DIY Bottle Cap Tripod step 3
Step 3: Insert the screw in the bottle cap, until the pan head is flush against the washer.
DIY Bottle Cap Tripod step 4
Step 4: Tighten the lock nut until it is firmly secured against the top of the bottle cap. The lock nut prevents the machine screw from turning while using the tripod.
DIY Bottle Cap Tripod step 5
Step 5: Twist the bar knob on the screw until it's flush against the top of the bottle cap.
DIY Bottle Cap Tripod step 6
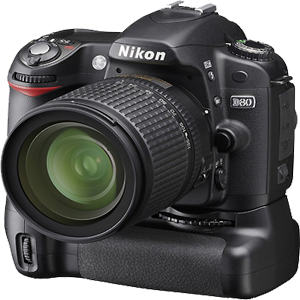
Step 6: Connect your DIY tripod to the base of the camera, then screw the cap down on the bottle. The bottle should contain some amount of liquid to counterbalance the weight of the camera. For additional stability, place a second washer between the bar knob and the camera.


0 comments:
Post a Comment